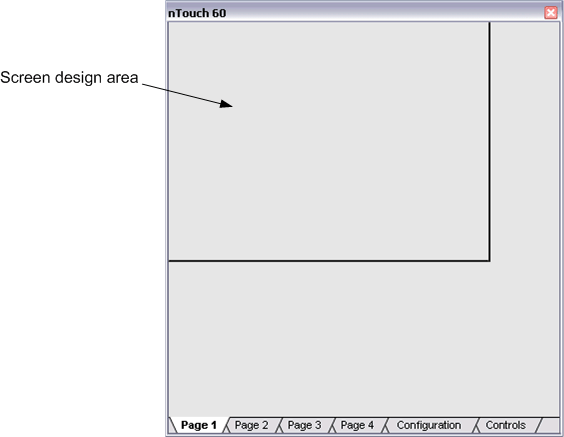
Once you have added the nTouch 60 device to your design, you can start to add controls to the individual pages, so end users can interact with them.
When you open the nTouch 60 device, you will see that NWare has created a number of individual pages automatically.

Each page labeled Page 1, Page 2, and so on, shows the area that will be visible on the nTouch 60 screen – the screen design area – at the top. Any controls you place in the screen design area will be visible on the nTouch 60 screen when the project is running.
Notes:
The Configuration tab is used to contact the physical nTouch 60 unit that this NWare device will control; it also allows you to specify settings to control the behavior of the screen and update the firmware. On the Controls tab are controls you can add to the screen design area on each page; these include knob controls for interacting with the knob on the nTouch 60 unit and status LEDs.
|
See also Compatibility with NWare 1.6.2a Connecting NWare to the nTouch 60 unit Using the knob controls to store values Sizing the screen design area to match the physical display area |