Specifying the control graphics
You will need to enable decoration for a control, described in the first procedure below, and then complete one of the other procedures for the type of control you are configuring.
This section assumes you have already imported the images you want to use via the Media tab. For more information, see Importing files using the Media tab.
To enable decoration for a control
- Right-click the control, and then click Control Properties.
The Control Properties dialog box is displayed.
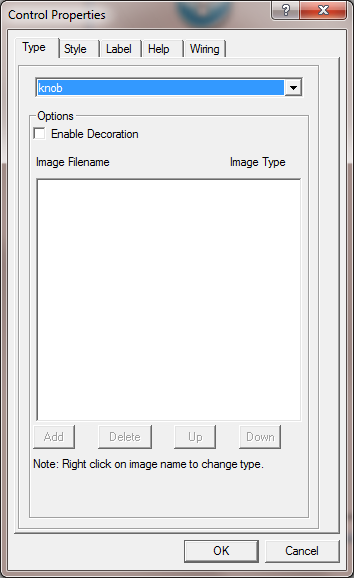
- On the Type tab, under Options, select the Enable Decoration check box.
To skin a fader
- In the Slider Image list, click an image for the fader handle.
- In the Background Image list, click an image for the area immediately surrounding the fader.
- If you want the fader handle to stay the same size when the fader (and background image) is resized on the design page:
- Click the Style tab.
- Under Advanced Styles, click Configure.
- Select the Don't scale slider image check box.
To skin a knob
- Click Add.
The Image List dialog box will be displayed.
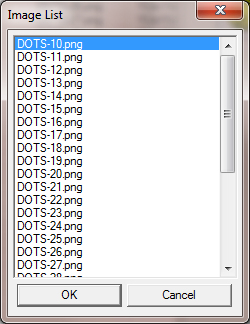
- Click images for the value pointer, background and image series.
The value pointer image will be rotated as the value changes. It should point to the minimum value position.
The background image will remain stationary as the knob value changes.
The image series will be a number of images that are displayed in turn as the value of the knob increases or decreases.
- Click OK.
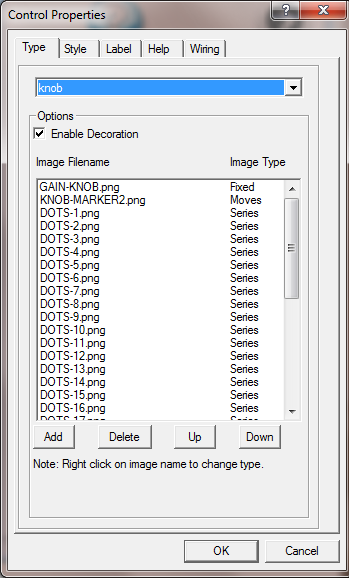
- Next the value pointer image, right-click in the Image Type list, and then click Moves.
- Next to the background image, right-click in the Image Type list, and then click Fixed.
- Next to the images you want to display as the knob turns, right-click in the Image Type list, and then click Series.
- If you want to move an image up or down, click the image, and then click Up or Down.
Here is an example showing settings for a knob control. There is a fixed image for the background, a pointer image that rotates, and a series of image that are displayed one-by-one as the knob value changes.
To skin a meter
- In the Meter Image list, click an image for the area immediately surrounding the meter.
To skin an LED
- In the On Image list, click an image for the LED when it is in the on state.
- In the Off Image list, click an image for the LED when it is in the off state.