|
In this section Switching the unit on and specifying the basic network settings Specifying settings for running Kiosk Specifying advanced system configuration settings |
See also |
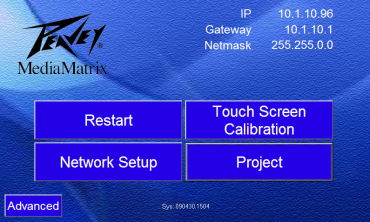
The nTouch 180 unit is configured to connect to a DHCP server to obtain an IP address and network settings. If it cannot find a DHCP server, an IP address starting with 169 will be used. The current network settings are displayed at the top of the main set up screen.
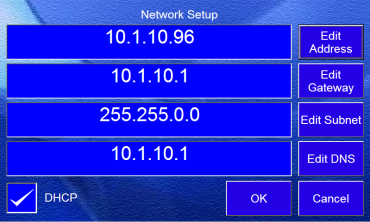
If you want to use DHCP, you do not need to change the network set up, but it is important that you check that the network to which you are connecting the unit has a DHCP server.
Note: If DHCP mode is selected, but there is no DHCP server on the network, the unit will be unable to communicate with other devices.
To switch the unit on and specify the basic network settings
The unit will start up as soon as it receives power.
The unit will start up automatically. This screen is displayed during the boot process.

If the nTouch 180 has been configured with a username for connecting to Kiosk:
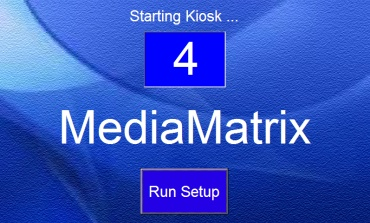
The Starting Kiosk countdown screen is displayed.

Note: If you let the counter reach zero, Kiosk will start automatically. If you have a keyboard connected, you can press ALT+F4 to display the Starting Kiosk screen. If you do not have a keyboard connected, you will need to reboot the unit to access the set up screen.
If no username has been specified, the main set up screen is displayed.

Tip: The Exit button is only available on the main set up screen if a project name has been specified.

Note: The IP address must be unique on the network to avoid conflicts.
Note: When you exit the Network Setup screen, you will be prompted to restart the system. This must be done in order for the settings to take effect.
The nTouch 180 will reboot and the new network settings will take effect.